Today we are going to continue the OpenCV 3.0 install instruction series by moving over to the Ubuntu operating system.
In the remainder of the post I will provide instructions on how to configure and install OpenCV 3.0 and Python 2.7+ on Ubuntu. I have personally tested these instructions on Ubuntu 14.04, but they should pretty much work on any Debian-based operating system.
A quick note before we get started: Yes, OpenCV 3.0 is indeed compatible with Python 3+. However, the install instructions are slightly different between Python 2.7+ and Python 3+. In an effort to keep each article self-contained and easy to follow, I am creating separate OpenCV 3.0 install tutorials for Python 2.7 and Python 3+. If you would like to use OpenCV 3.0 and Python 3+ on your Ubuntu system, please keep an eye on this blog — I will be posting OpenCV 3.0 and Python 3+ install instructions later this month. But for the time being, let’s stick with Python 2.7.
How to Install OpenCV 3.0 and Python 2.7+ on Ubuntu
This is the second article in the OpenCV 3.0 install-fest series. Last week we covered how to install OpenCV 3.0 and Python 2.7+ on OSX. Today we are going to perform the same OpenCV 3.0 and Python 2.7 installation, only on the Ubuntu operating system. In general, you should find installing OpenCV 3.0 and Python 2.7+ on Ubuntu much easier than installing on OSX.Step 1:
Open up a terminal and update the apt-get package manager followed by upgrading any pre-installed packages:Step 2:
Now we need to install our developer tools:Step 3:
OpenCV needs to be able to load various image file formats from disk, including JPEG, PNG, TIFF, etc. In order to load these image formats from disk, we’ll need our image I/O packages:Step 4:
At this point, we have the ability to load a given image off of disk. But how do we display the actual image to our screen? The answer is the GTK development library, which the highgui module of OpenCV depends on to guild Graphical User Interfaces (GUIs):Step 5:
We can load images using OpenCV, but what about processing video streams and accessing individual frames? We’ve got that covered here:Step 6:
Install libraries that are used to optimize various routines inside of OpenCV:Step 7:
Install pip , a Python package manager:Step 8:
Install virtualenv and virtualenvwrapper. These two packages allow us to create separate Python environments for each project we are working on. While installing virtualenv and virtualenvwrapper is not a requirement to get OpenCV 3.0 and Python 2.7+ up and running on your Ubuntu system, I highly recommend it and the rest of this tutorial will assume you have them installed!To make the changes to our ~/.bashrc file take effect, you can either (1) logout and log back in, (2) close your current terminal window and open a new one, or preferably, (3) reload the contents of your ~/.bashrc file:
Step 9:
As I mentioned above, this tutorial covers how to install OpenCV 3.0 and Python 2.7+ (I’ll have a OpenCV 3.0 + Python 3 tutorial available later this month), so we’ll need to install our Python 2.7 development tools:Step 10:
Our environment is now all setup — we can proceed to change to our home directory, pull down OpenCV from GitHub, and checkout the 3.0.0 version:As I mentioned last week, we also need the opencv_contrib repo as well. Without this repository, we won’t have access to standard keypoint detectors and local invariant descriptors (such as SIFT, SURF, etc.) that were available in the OpenCV 2.4.X version. We’ll also be missing out on some of the newer OpenCV 3.0 features like text detection in natural images:
Time to setup the build:
Notice how compared to last week our CMake command is substantially less verbose and requires less manual tweaking — this is because CMake is able to better automatically tune our install parameters (at least compared to OSX).
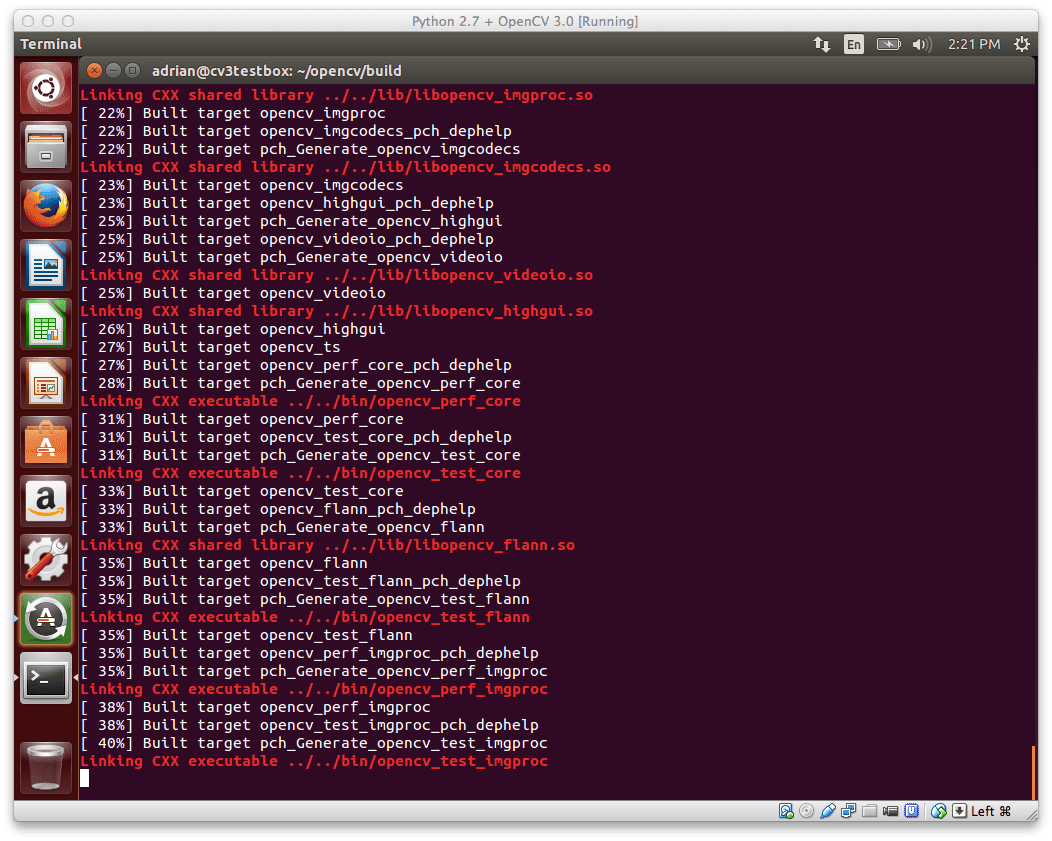
Now we can finally compile OpenCV:
Here’s an example of OpenCV 3.0 compiling on my system:
Assuming that OpenCV compiled without error, you can now install it on your Ubuntu system:
Step 11:
If you’ve reached this step without an error, OpenCV should now be installed in /usr/local/lib/python2.7/site-packagesHowever, our cv virtual environment is located in our home directory — thus to use OpenCV within our cv environment, we first need to sym-link OpenCV into the site-packages directory of the cv virtual environment:
Step 12:
Congratulations! You have successfully installed OpenCV 3.0 with Python 2.7+ bindings on your Ubuntu system!To confirm your installation, simply ensure that you are in the cv virtual environment, followed by importing cv2 :
No comments:
Post a Comment